1. Inspect and test
We check hardness, moisture, cracks, coatings and flatness. This decides the tooling, the steps and the finish that is realistic.
2. Coarse grinding
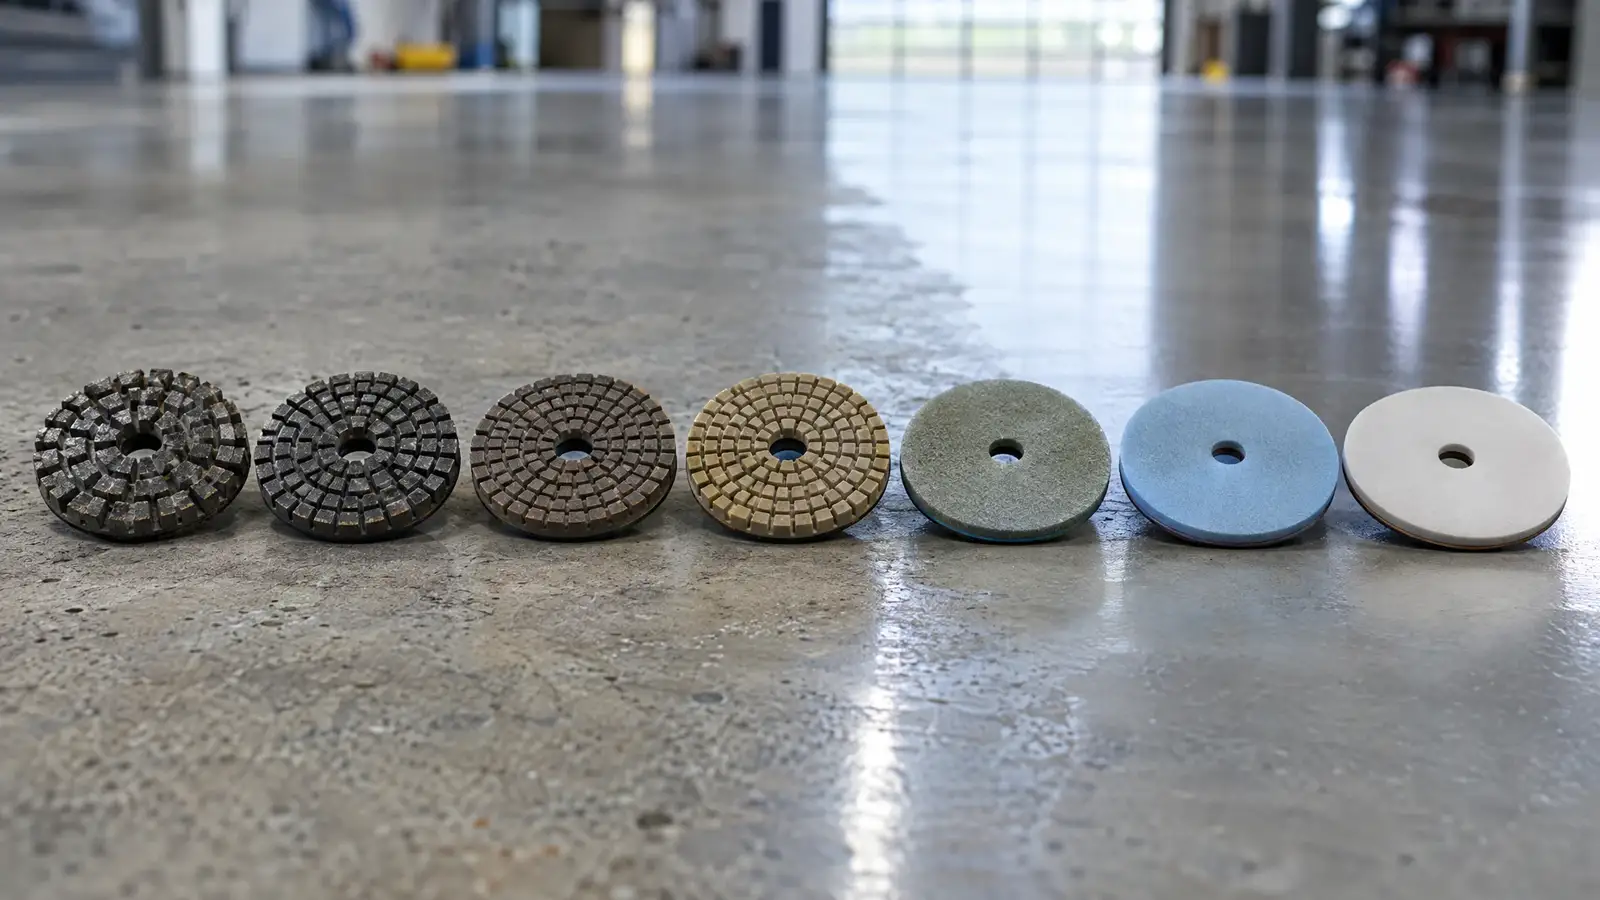
Heavy machines with metal-bond diamonds remove coatings and glue, level high spots and open the surface. This stage sets the foundation for everything that follows.
3. Repair and fill
Cracks, joints and pits are filled. Patches are ground flush. A repaired floor must be flat and sound before refining.
4. Densify
A liquid densifier soaks in and hardens the slab from within. It makes the surface tighter and less dusty, and it lets finer polishing bring up a deeper shine.
5. Refine through the grits
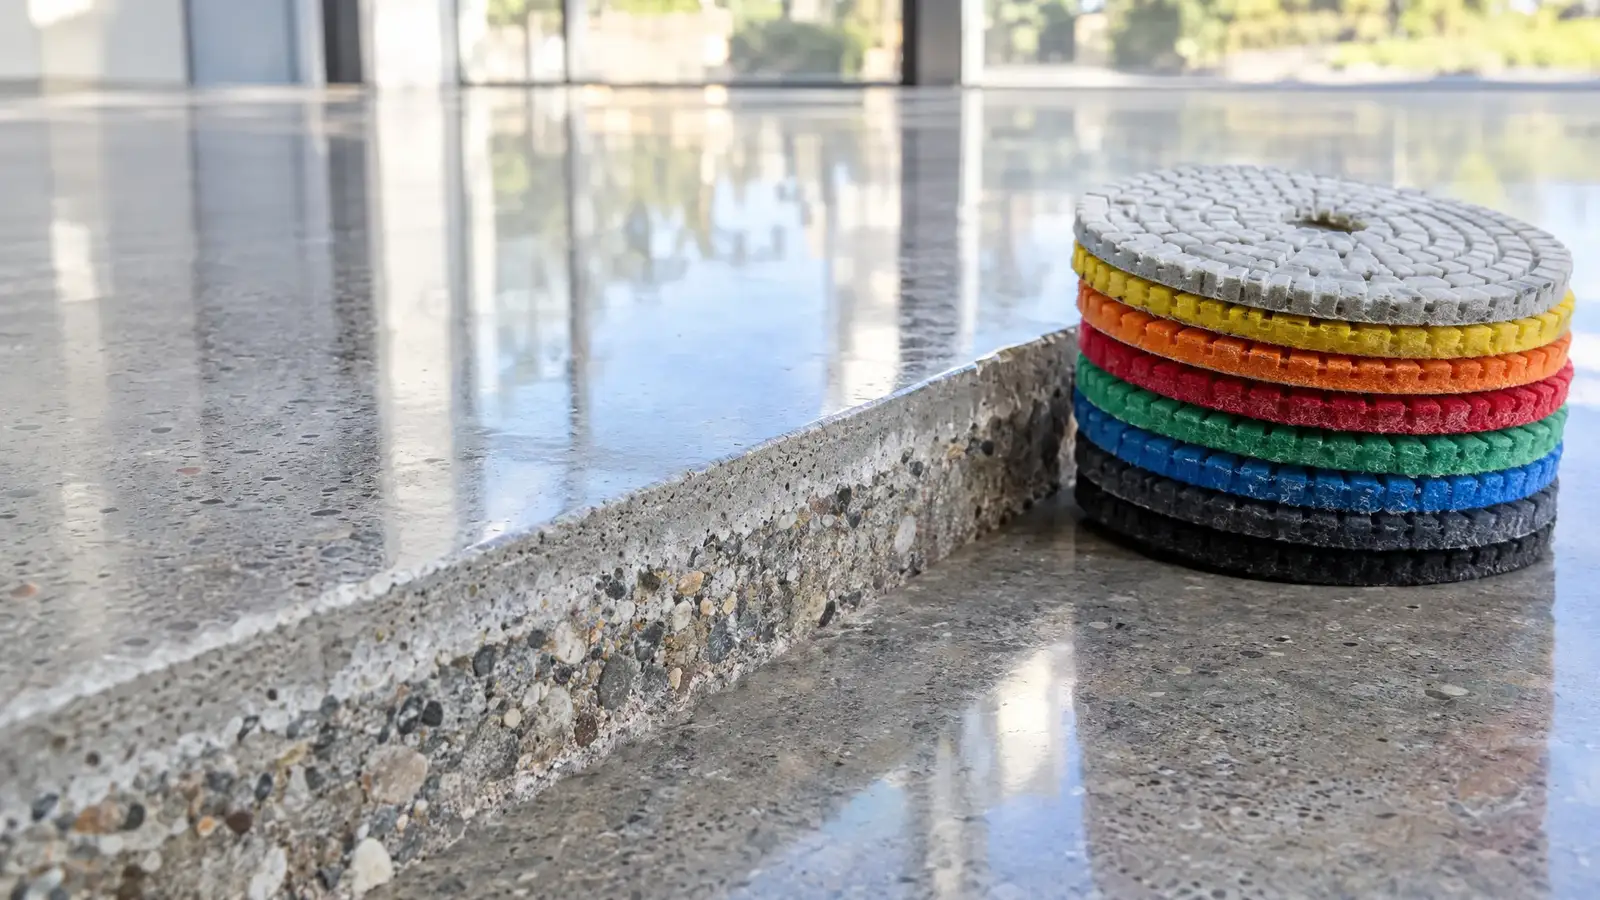
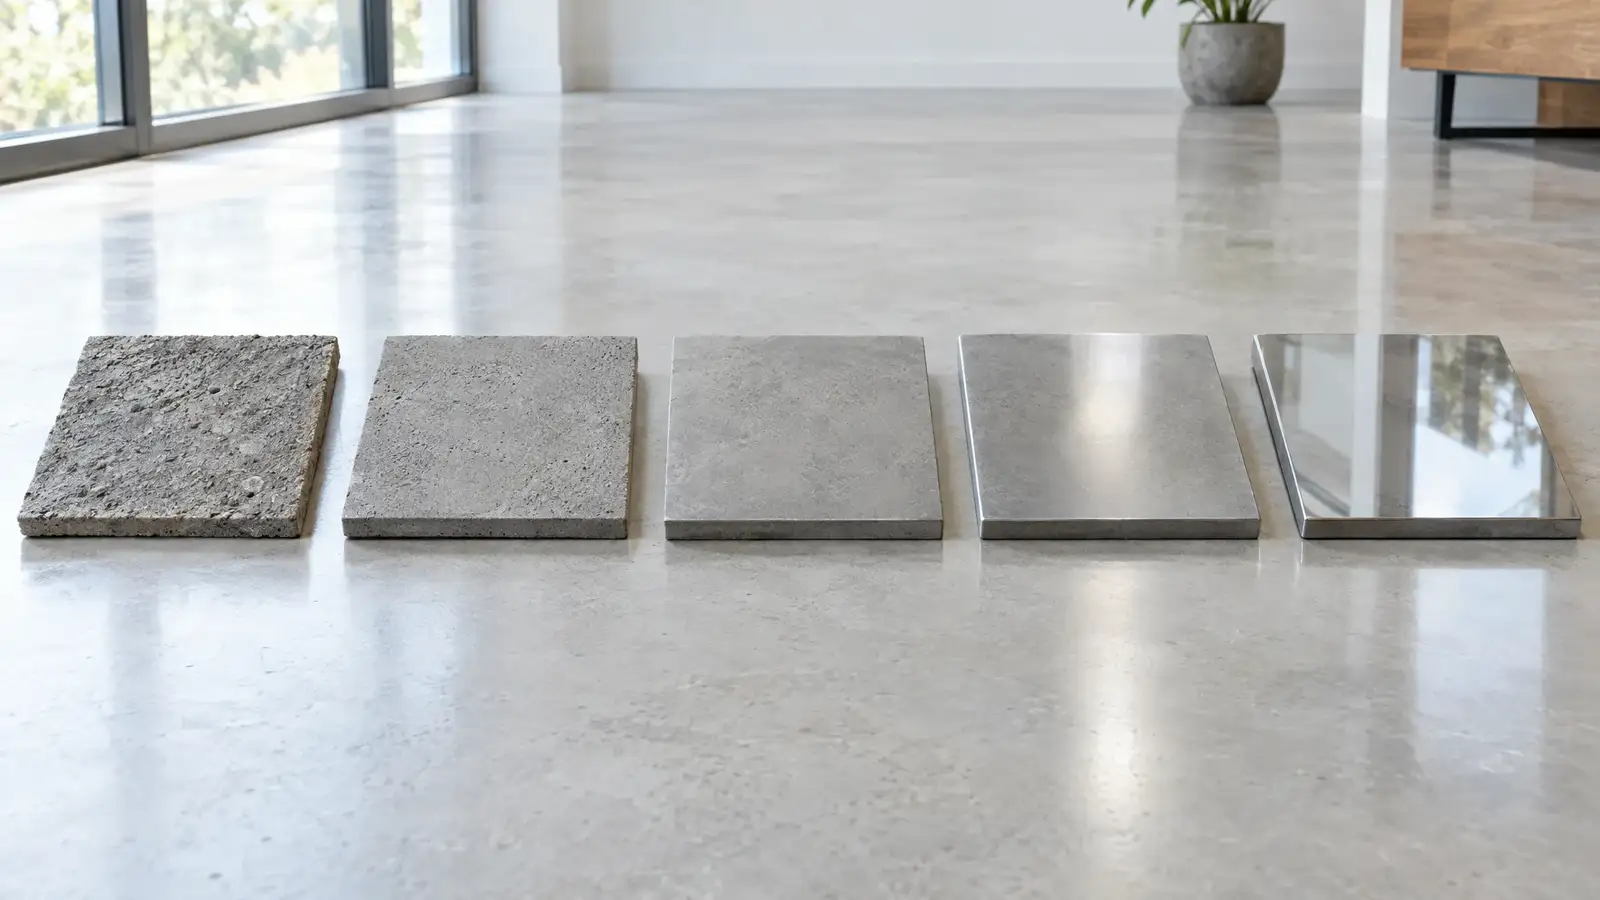
Resin-bond diamonds step up through finer grits. Each pass removes the scratches left by the last one. Skipping a grit leaves marks that show in the final shine.
6. Guard and burnish
A stain guard is applied and burnished with a high-speed pad. This is the final step that sets the sheen and protects the finish.
Why the order matters
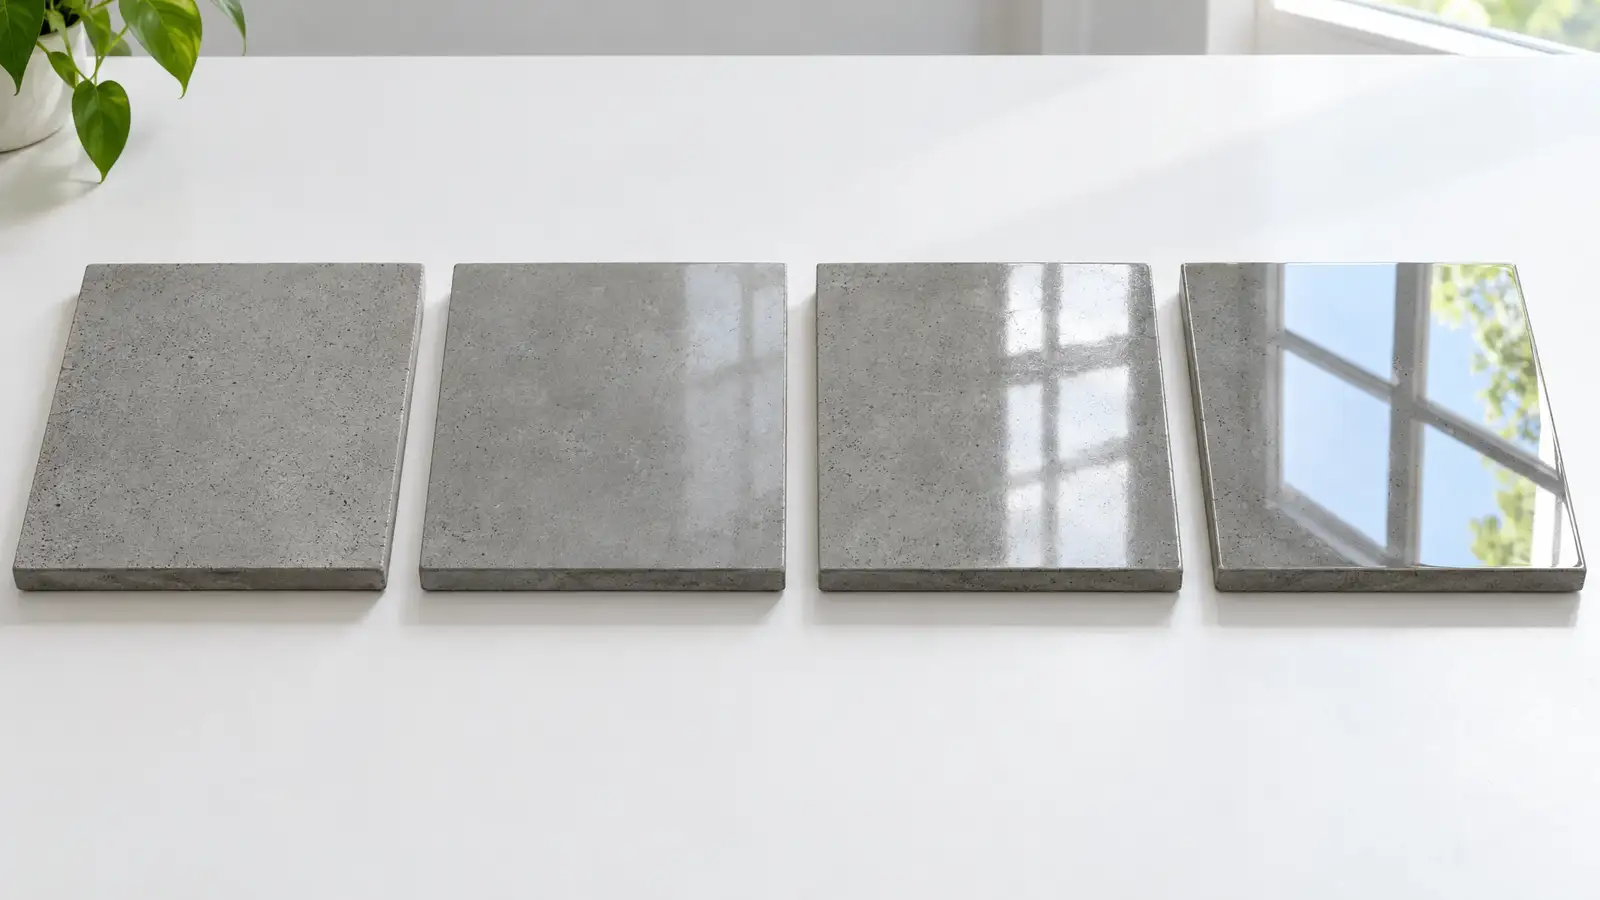
Every stage prepares the surface for the next one. Coarse grinding removes what is on the slab, fine grinding removes the scratches the coarse tools left, and the guard locks in the result. If one stage is rushed, the problem usually shows up later as swirl marks, dull patches or a floor that stains easily.
What you can expect on site
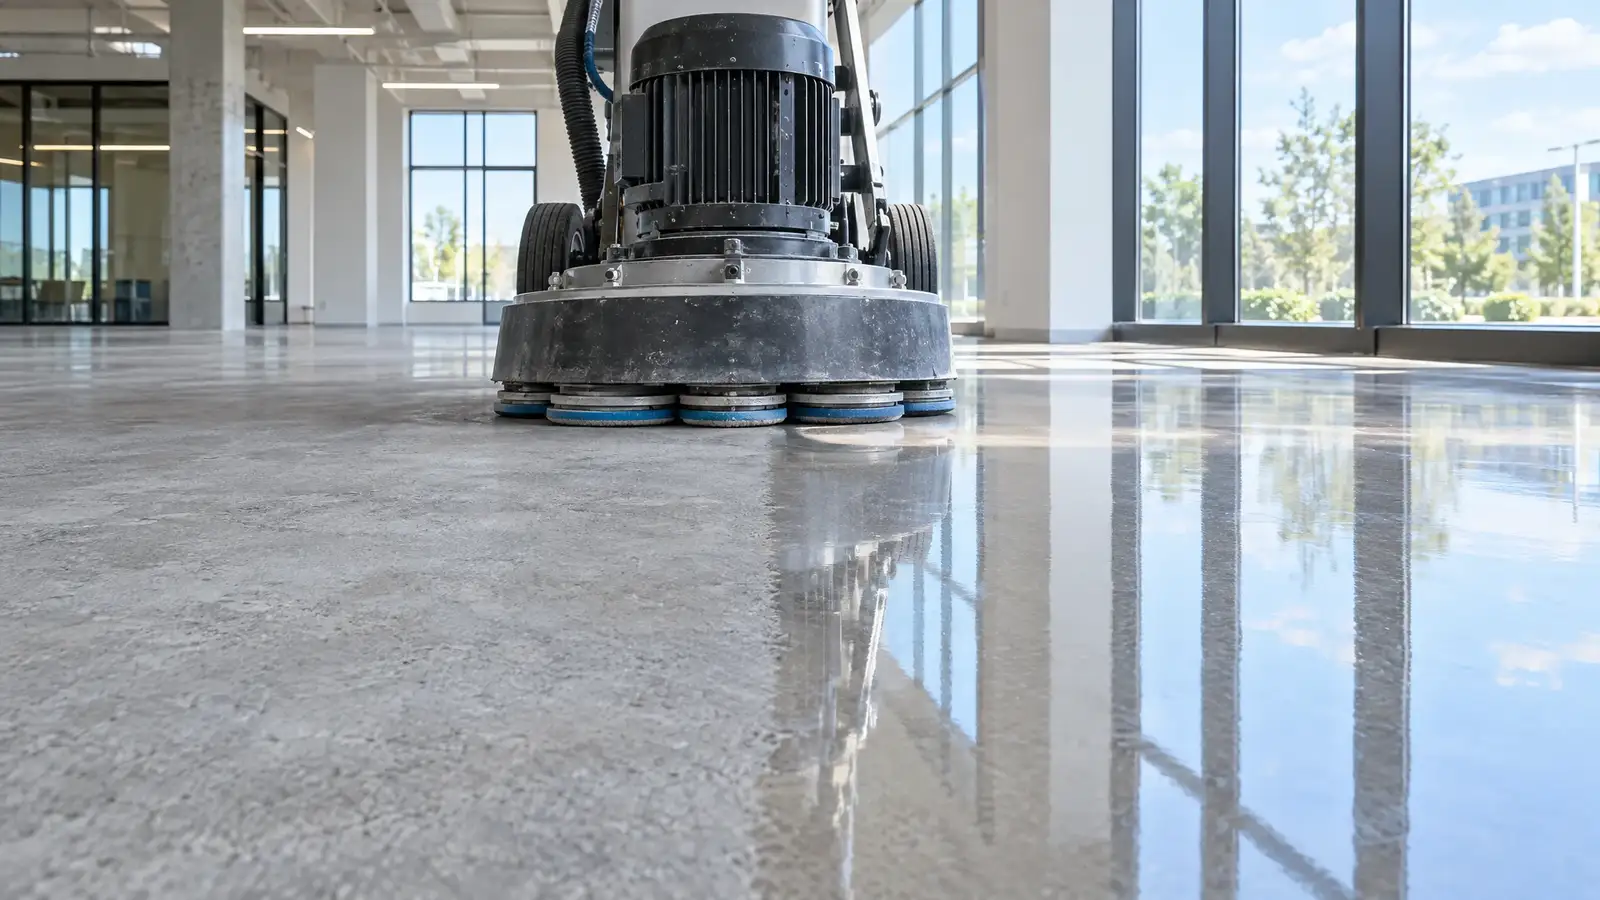
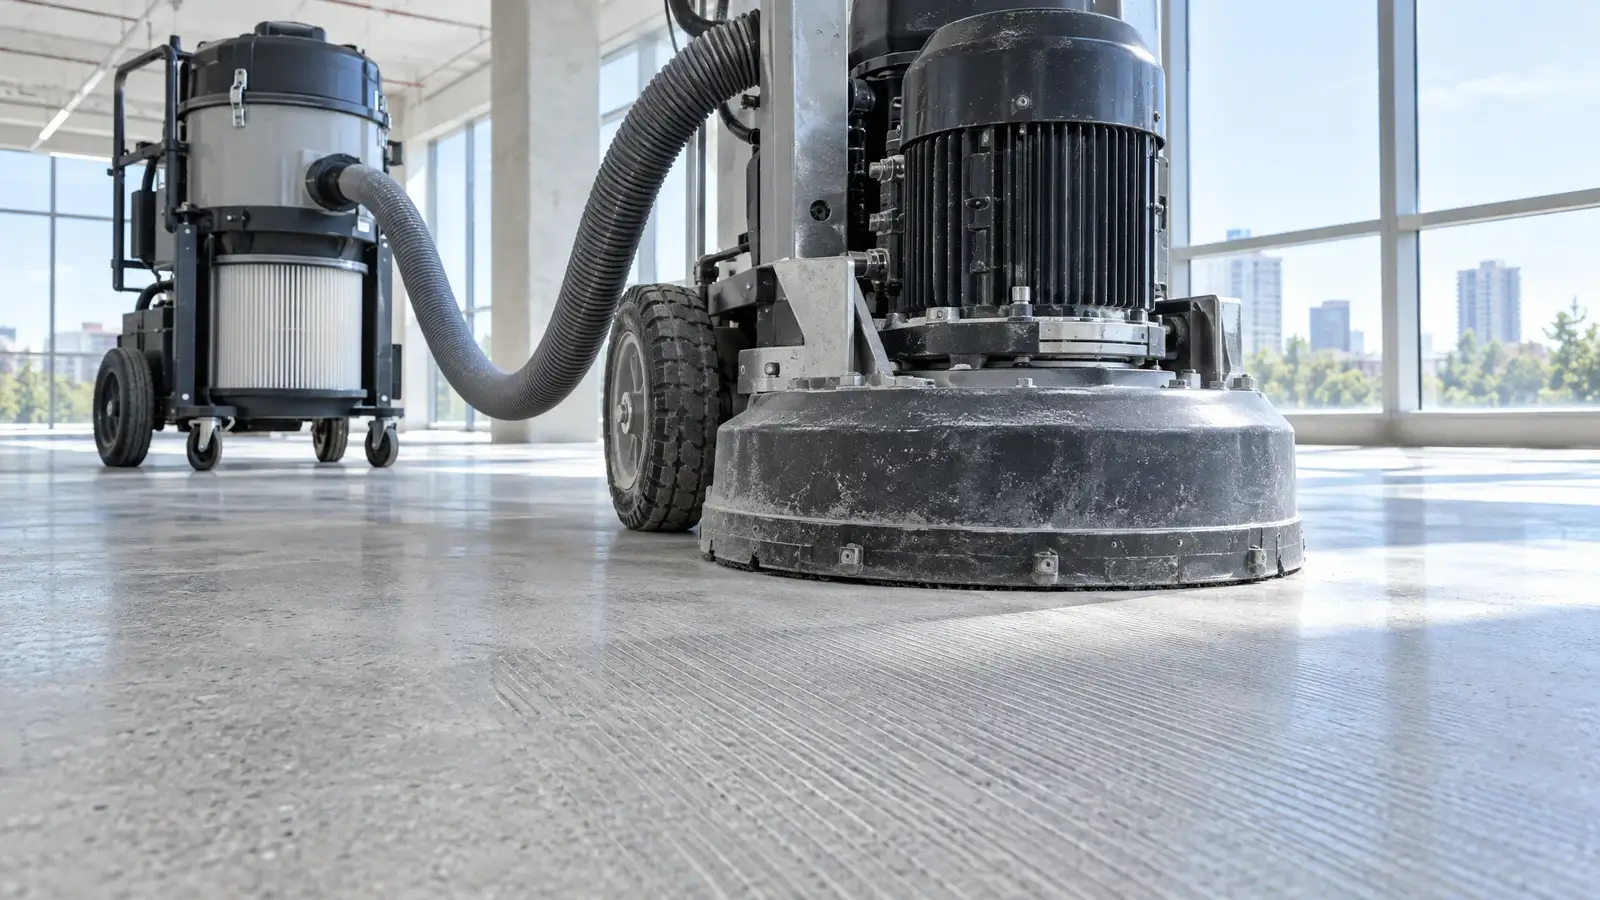
A polishing crew brings grinders, dust extraction and vacuums, so the work is organized by zone. Large rooms are done in sections, and the floor changes character visibly from one step to the next. Many clients are surprised by how matte and cloudy the floor looks in the middle stages before the shine appears.
How long each stage takes
Time depends on the slab, the size and the finish you choose. Heavily coated or damaged floors take longer in the early stages. Dense, clean slabs move quickly. Use the Timeline Planner on this site for a planning idea, and we will confirm a schedule after we see the floor.
After the last pass
Once the guard is burnished, the floor can usually be walked on soon after, with heavy loads waiting a little longer. We give you simple care steps and a plan for when to refresh the shine.
Quick answers
Can steps be skipped to save time?
Skipping steps leaves scratches and a weaker shine. It is the most common cause of poor results.
How many grits are used?
Typically several, from coarse metal-bond up to fine resin stages. The number depends on the finish chosen.
Is the work noisy and dusty?
Grinding is loud, but modern machines are connected to dust extraction, and wet methods can be used when dust must be kept to a minimum.